Layale Matta
Android & Kotlin
DataStore is the new SharedPreferences

You’ve definitely used SharedPreferences to store small or simple data sets. But SharedPreferences’ API has a series of downsides and luckily the Jetpack DataStore library aims at addressing those issues.
So if you’re currently using SharedPreferences, consider migrating to DataStore instead. And good news, it’s now in Beta 🎉
🔍 What is DataStore?
Jetpack DataStore is a data storage solution that provides two different implementations: Preferences DataStore and Proto DataStore.
Preferences DataStore stores and accesses data using keys.
Proto DataStore stores data as instances of a custom data type and requires creating a schema using protocol buffers.
DataStore uses Kotlin coroutines and Flow to store data asynchronously, consistently, and transactionally unlike SharedPreferences.
🤿 Let’s dive
In this article, we will focus on Preferences DataStore.
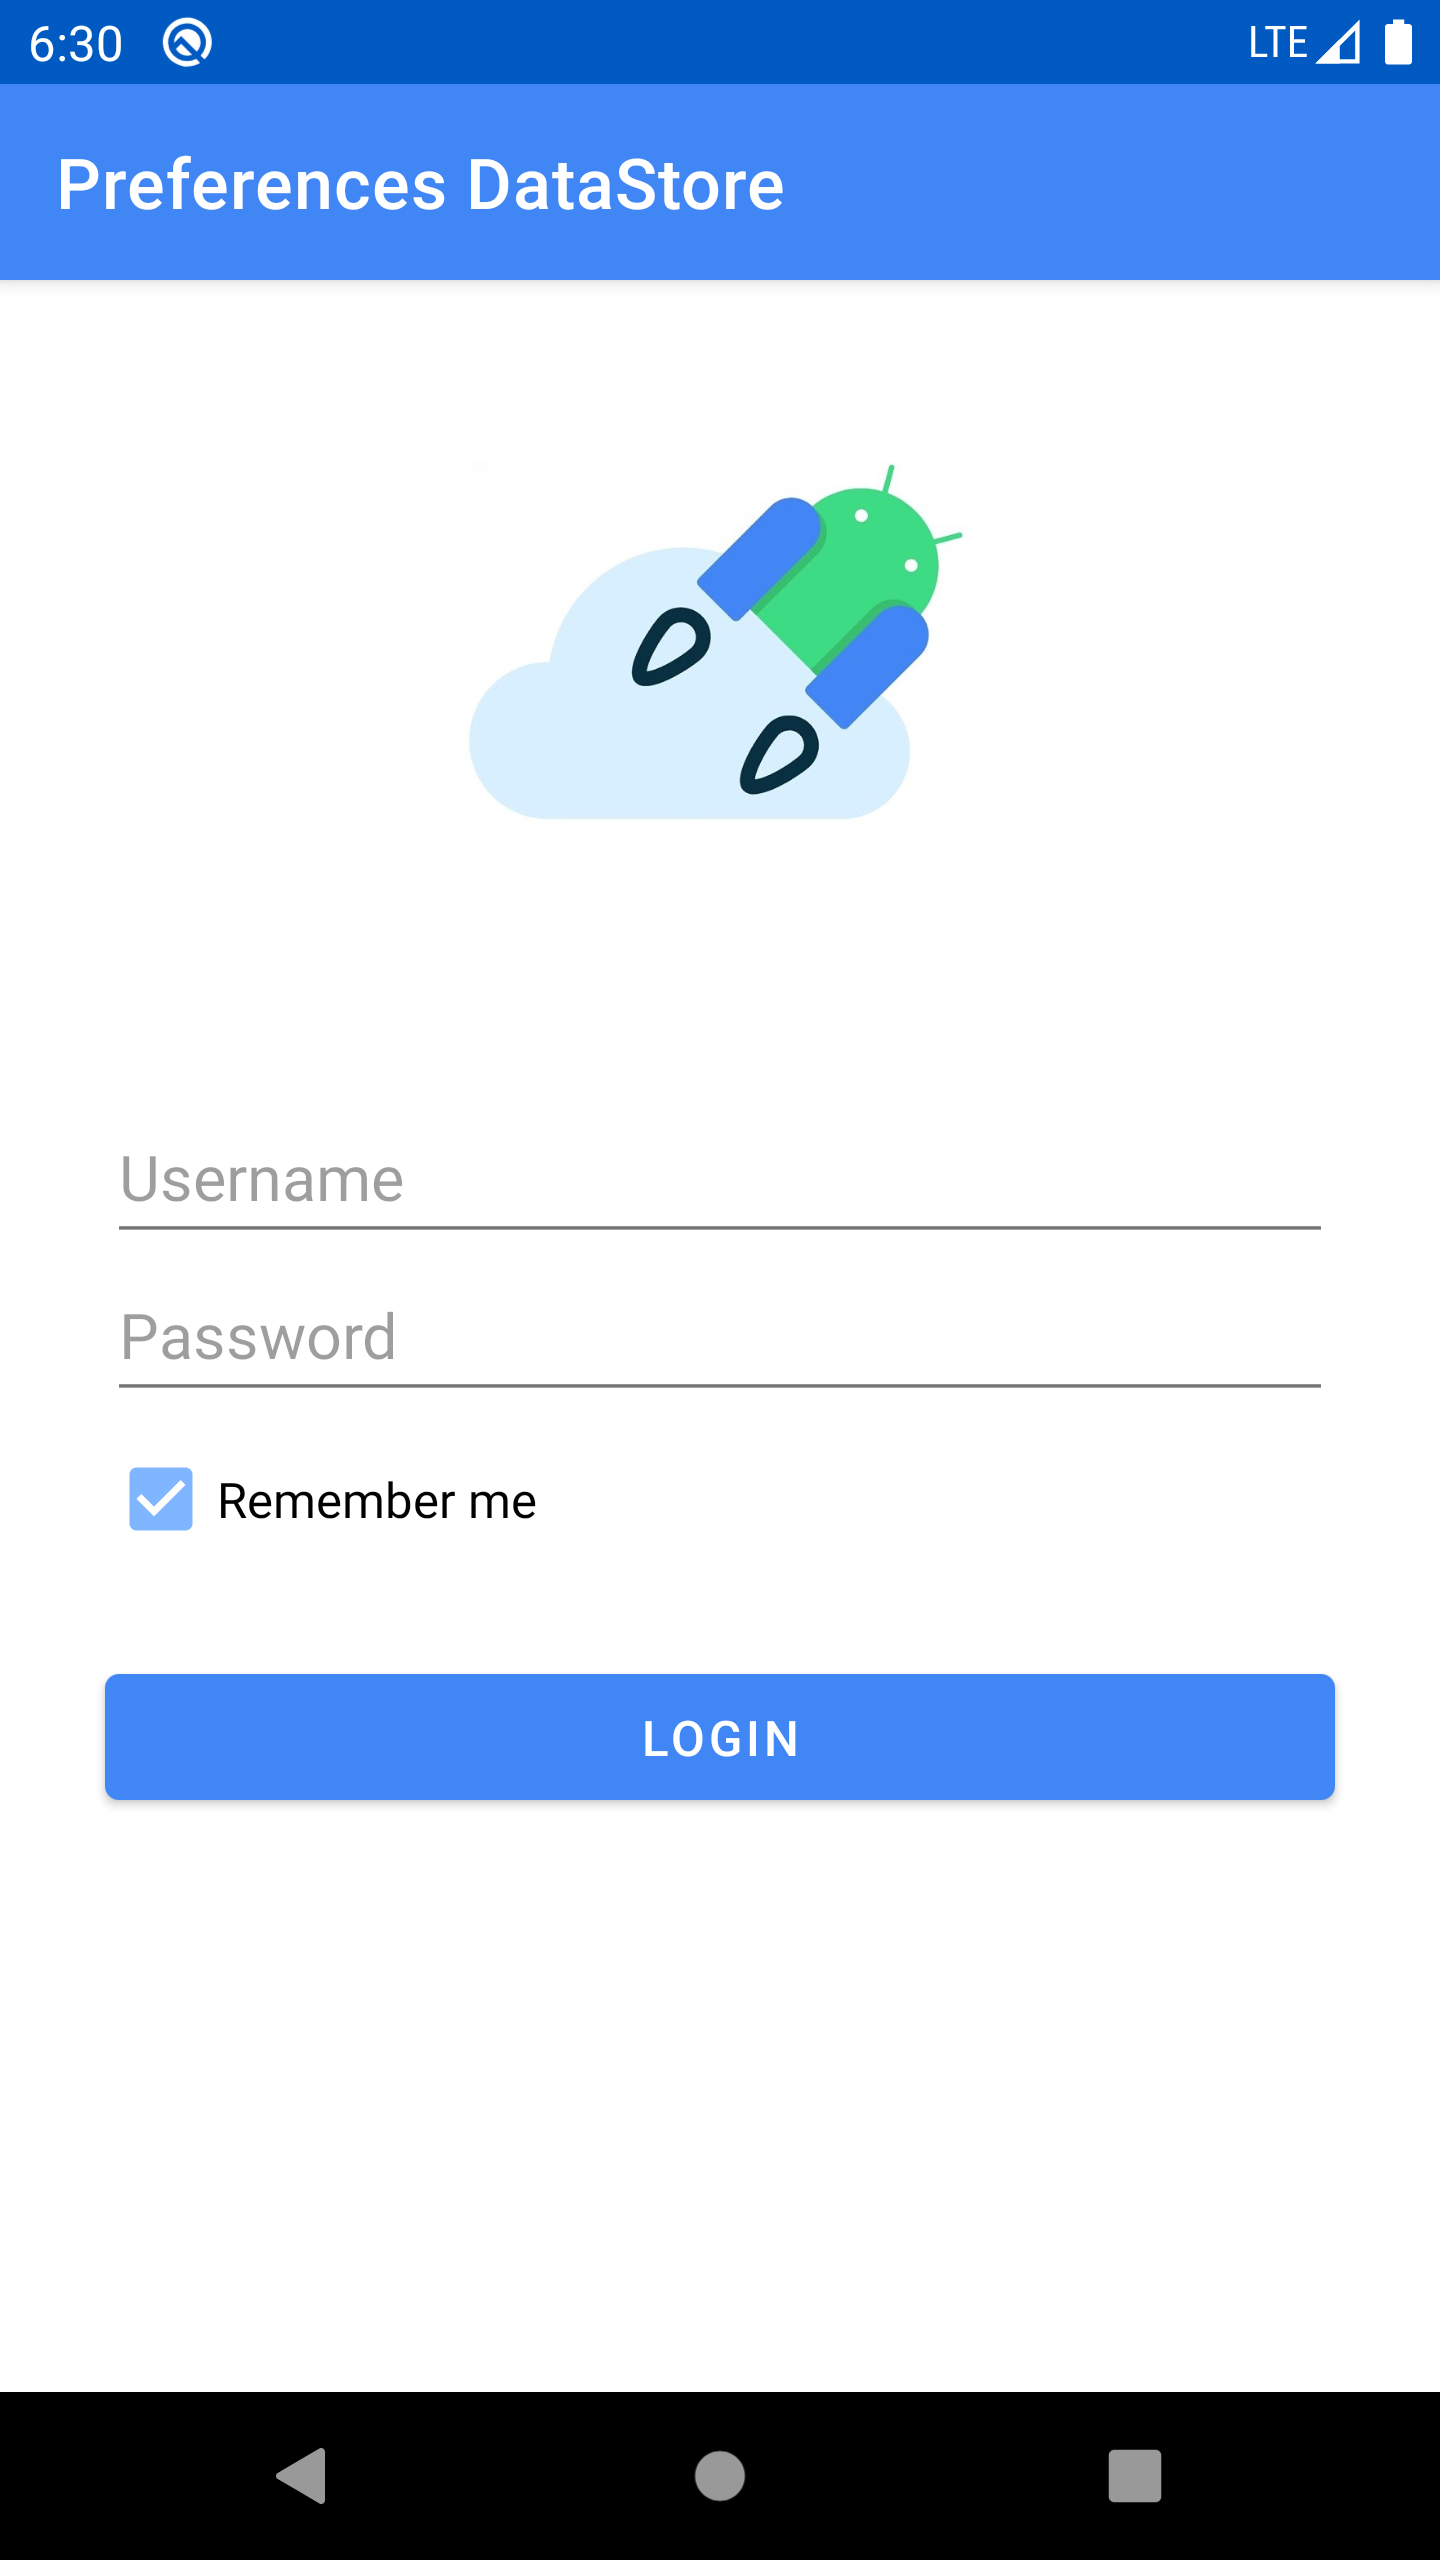
In this simple project, we are implementing the Remember Me functionality of a Login screen. We are currently using SharedPreferences to store this value and redirect the user to the Welcome screen once it’s checked. We will migrate the code to use DataStore.


To get your hands on the code, consider checking this GitHub repo.
The final code is located in the preferences_datastore branch.
🛑 SharedPreferences Limitations
The biggest downsides of SharedPreferences include:
- Lack of safety from runtime exceptions
- Lack of a fully asynchronous API
- Lack of main thread safety
- No type safety
Luckily Jetpack DataStore addresses those issues. Since it’s powered by Flow, DataStore saves the preferences in a file and performs all data operations on Dispatchers.IO under the hood. And your app won’t be freezing while storing data.
🏁 Let’s get started…
First, add the Preference DataStore dependency in the build.gradle file:
We have also added the Lifecycle dependencies for using ViewModel:
🗃️ DataStore Repository
Inside a new package called repository, create the Kotlin class DataStoreRepository.kt. In this class we are going to store all the logic necessary for writing and reading DataStore preferences. We will pass to it a dataStore of type DataStore<Preferences> as a parameter.
Let’s create a data class called UserPreferecences. It will contain the two values we’re going to save.
Unlike SharedPreferences, in DataStore we cannot add a key simply as a String. Instead we have to create a Preferences.Key<String> object or simply by using the extension function stringPreferencesKey as follows:
📝 Write to DataStore
In order to save to DataStore, we use the dataStore.edit method using the keys we created above.
You may have noticed that we’re using a suspend function here. This is because dataStore.edit uses Coroutines. This function accepts a transform block of code that allows us to transactionally update the state in DataStore. It can also throw an IOException if an error was encountered while reading or writing to disk.
📋 Read from DataStore
To read our data, we will retrieve it using dataStore.data as a Flow<UserPreferences>.
Later, we are going to convert this Flow emitted value to LiveData in our ViewModel.
Make sure to handle the IOExceptions, that are thrown when an error occurs while reading data. Do this by using catch() before map() and emitting emptyPreferences().
🆑 Clear DataStore
To clear data, we can either clear the preferences all together or clear a specific preference by its key.
🤙🏼 Call it from the ViewModel
In another viewmodel package, create the LoginViewModel class.
We’re retrieving userPreferences and converting the Flow into LiveData in order to observe it in our Activity. And since saveToDataStore and clearDataStore are suspended functions, we need to run them from inside a coroutine scope, which is the viewmodel scope in this case.
LoginViewModelFactory is a ViewModelProvider.Factory that is responsible to create our instance of LoginViewModel later in our Activity. We will pass to it the DataStoreRepository which is need in LoginViewModel’s constructor.
🗄️ Create DataStore
📦 Migrate from SharedPreferences
If we are migrating our existing data from the SharedPreferences, when creating our DataStore, we should add a migration based on the SharedPreferences name. DataStore will be able to migrate from SharedPreferences to DataStore automatically, for us.
🔬 Observe it in the Activity
In our activity, we first observe our userPreferences as liveData from our ViewModel.
Whenever Remember Me is observed as checked, we redirect the user to the Welcome screen. Whenever we click the login button, if our checkbox is checked we update our userPreferences, otherwise we clear our saved user preferences.
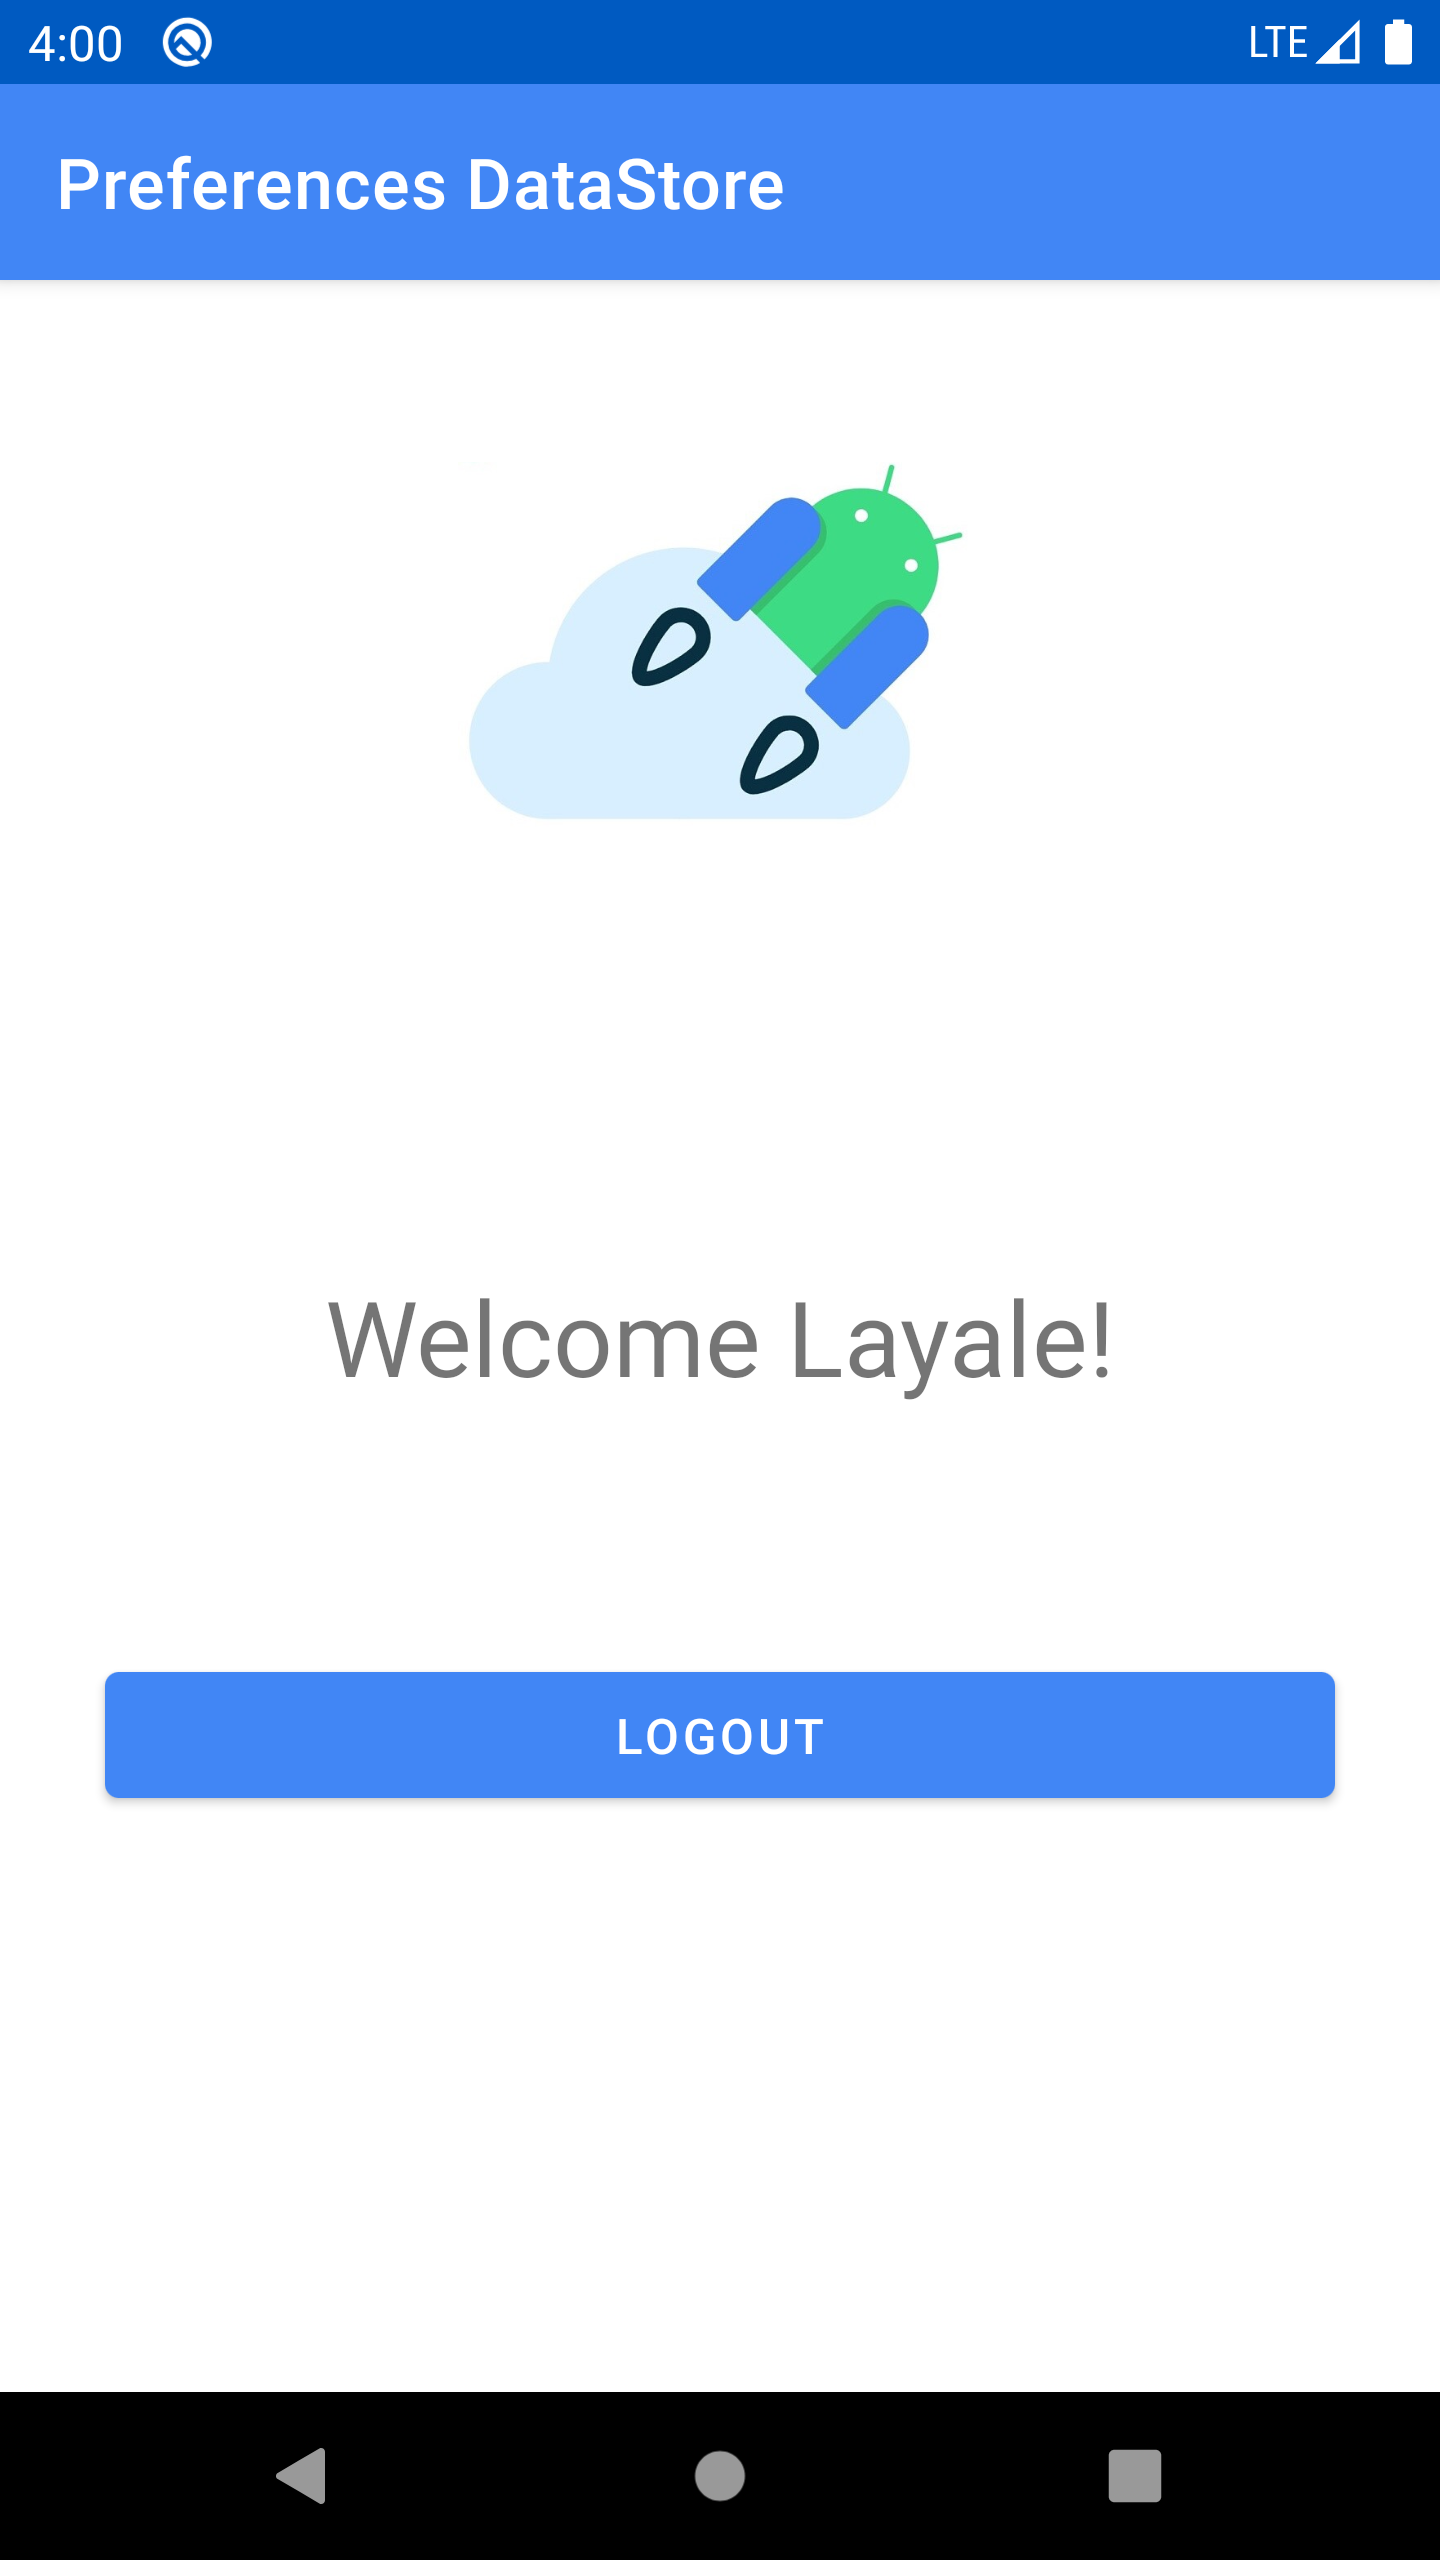
For the simplicity of our application, we will use the same ViewModel in our WelcomeActivity as well. We observe the username and display it whenever it is not empty. And once we log out we clear our saved userPreferences.
💡 Key Takeaways
Now that we migrated to Preferences DataStore let’s recap!
DataStore:
- is a replacement for SharedPreferences
- has a fully asynchronous API using Kotlin coroutines and Flow
- guarantees data consistency
- handles data migration
- handles data corruption
⏭ Up next
Join me in the next post to learn how to use Proto DataStore.
If this post was of any help to you, or if you think it requires further explanation, I’d love to know! Drop me a DM on Twitter @yalematta ✌🏼