Layale Matta
Android & Kotlin
Persisting Typed Objects with DataStore

In a previous post we have explored how to use Preferences DataStore to migrate our SharedPreferences. And in this post we will focus on Proto DataStore.
🤔 What makes Proto DataStore different?
While both Preferences and Proto DataStore allow saving data, they do this in different ways. One important feature is applied only when using Proto DataStore, and it is Type Safety.
With Proto DataStore we don’t have to use keys. Instead we define a schema using Protocol Buffers. And with Protocol Buffers we can persist strongly typed data.
One of the downsides of SharedPreferences and Preferences DataStore is that there is no way to ensure that keys are accessed with the correct type. Using Proto DataStore, we know what types are stored and we will just provide them.
🔍 What’s Protocol Buffers?
Protocol Buffers were developed by Google for storing and interchanging all kinds of structured information. They are used for serializing structured data. It is similar to XML and other similar data formats, but it’s smaller, faster and simpler.
If you don’t know what serialization is, it’s the process of translating a data structure or object state into a format that can be stored, like for example, a file or a memory data buffer.
👷🏻 How Protocol Buffers work?
We need to define how we want our data to be structured once, and the compiler will generate the source code for us to easily read and write the structured data.
That said, with Proto Datastore we will serialize and save our custom data structure using Protocol Buffers and of course deserialize and read the values whenever we need to.
🤿 Let’s dive
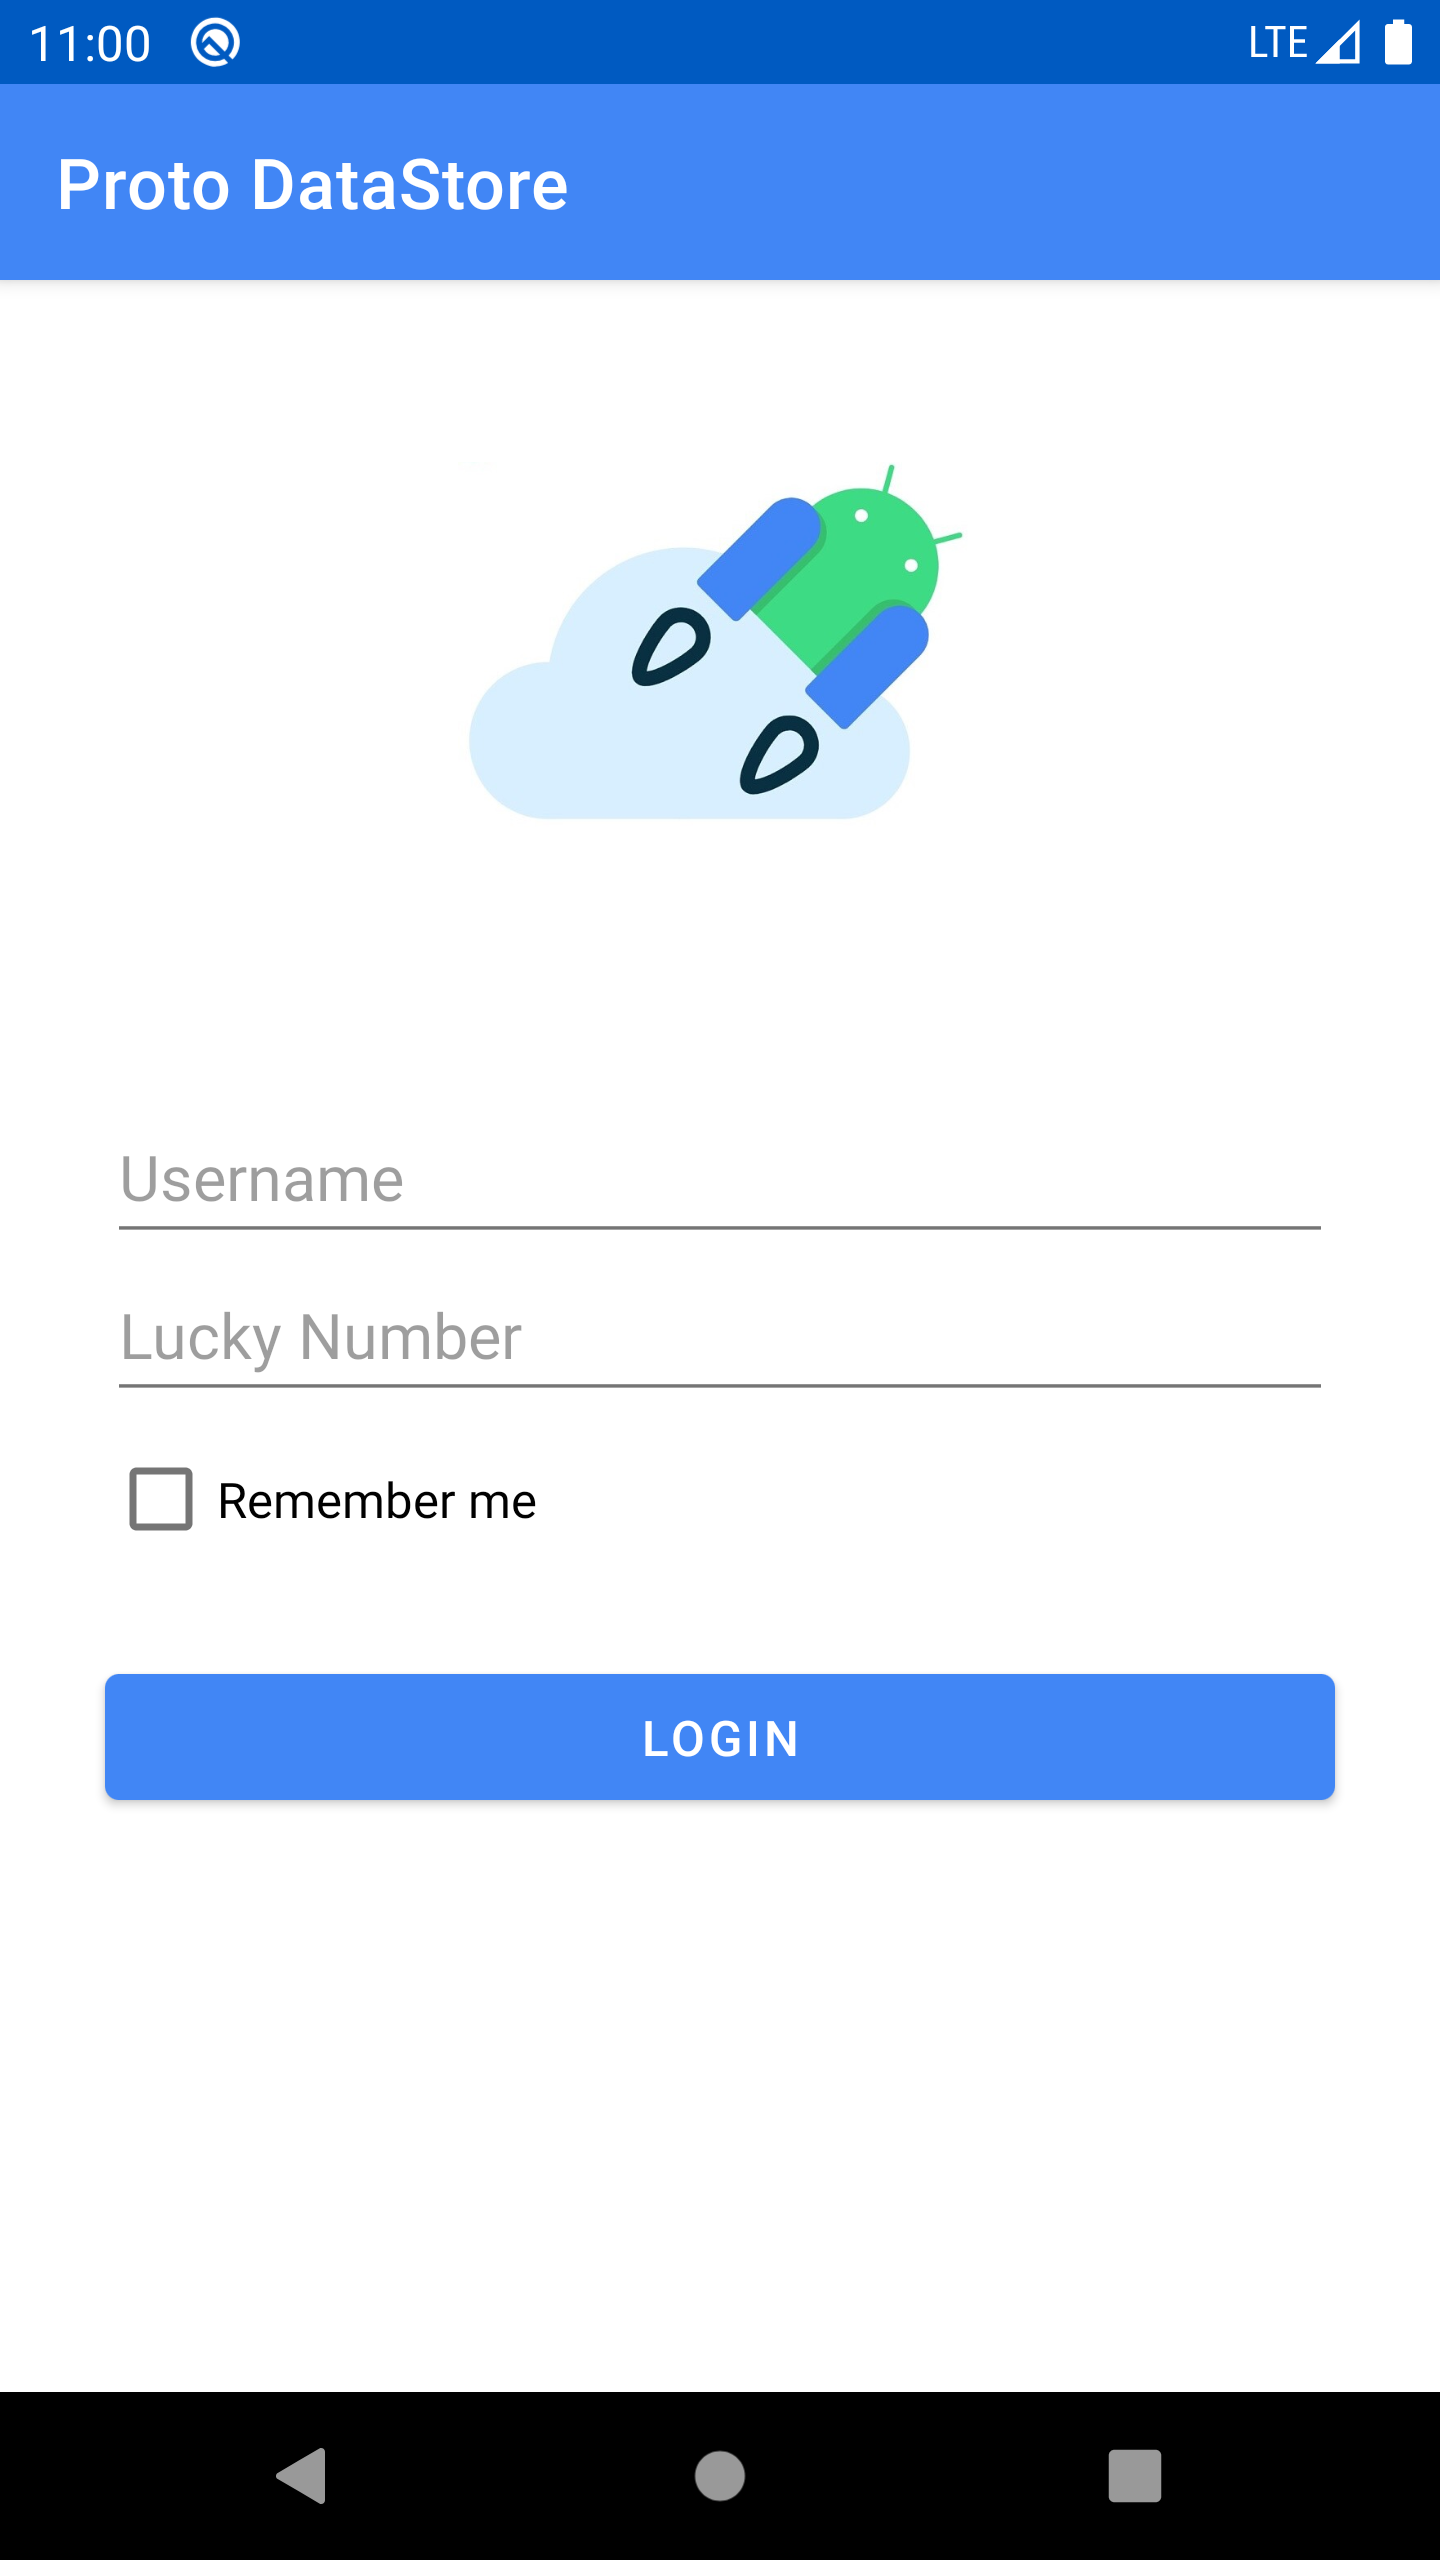
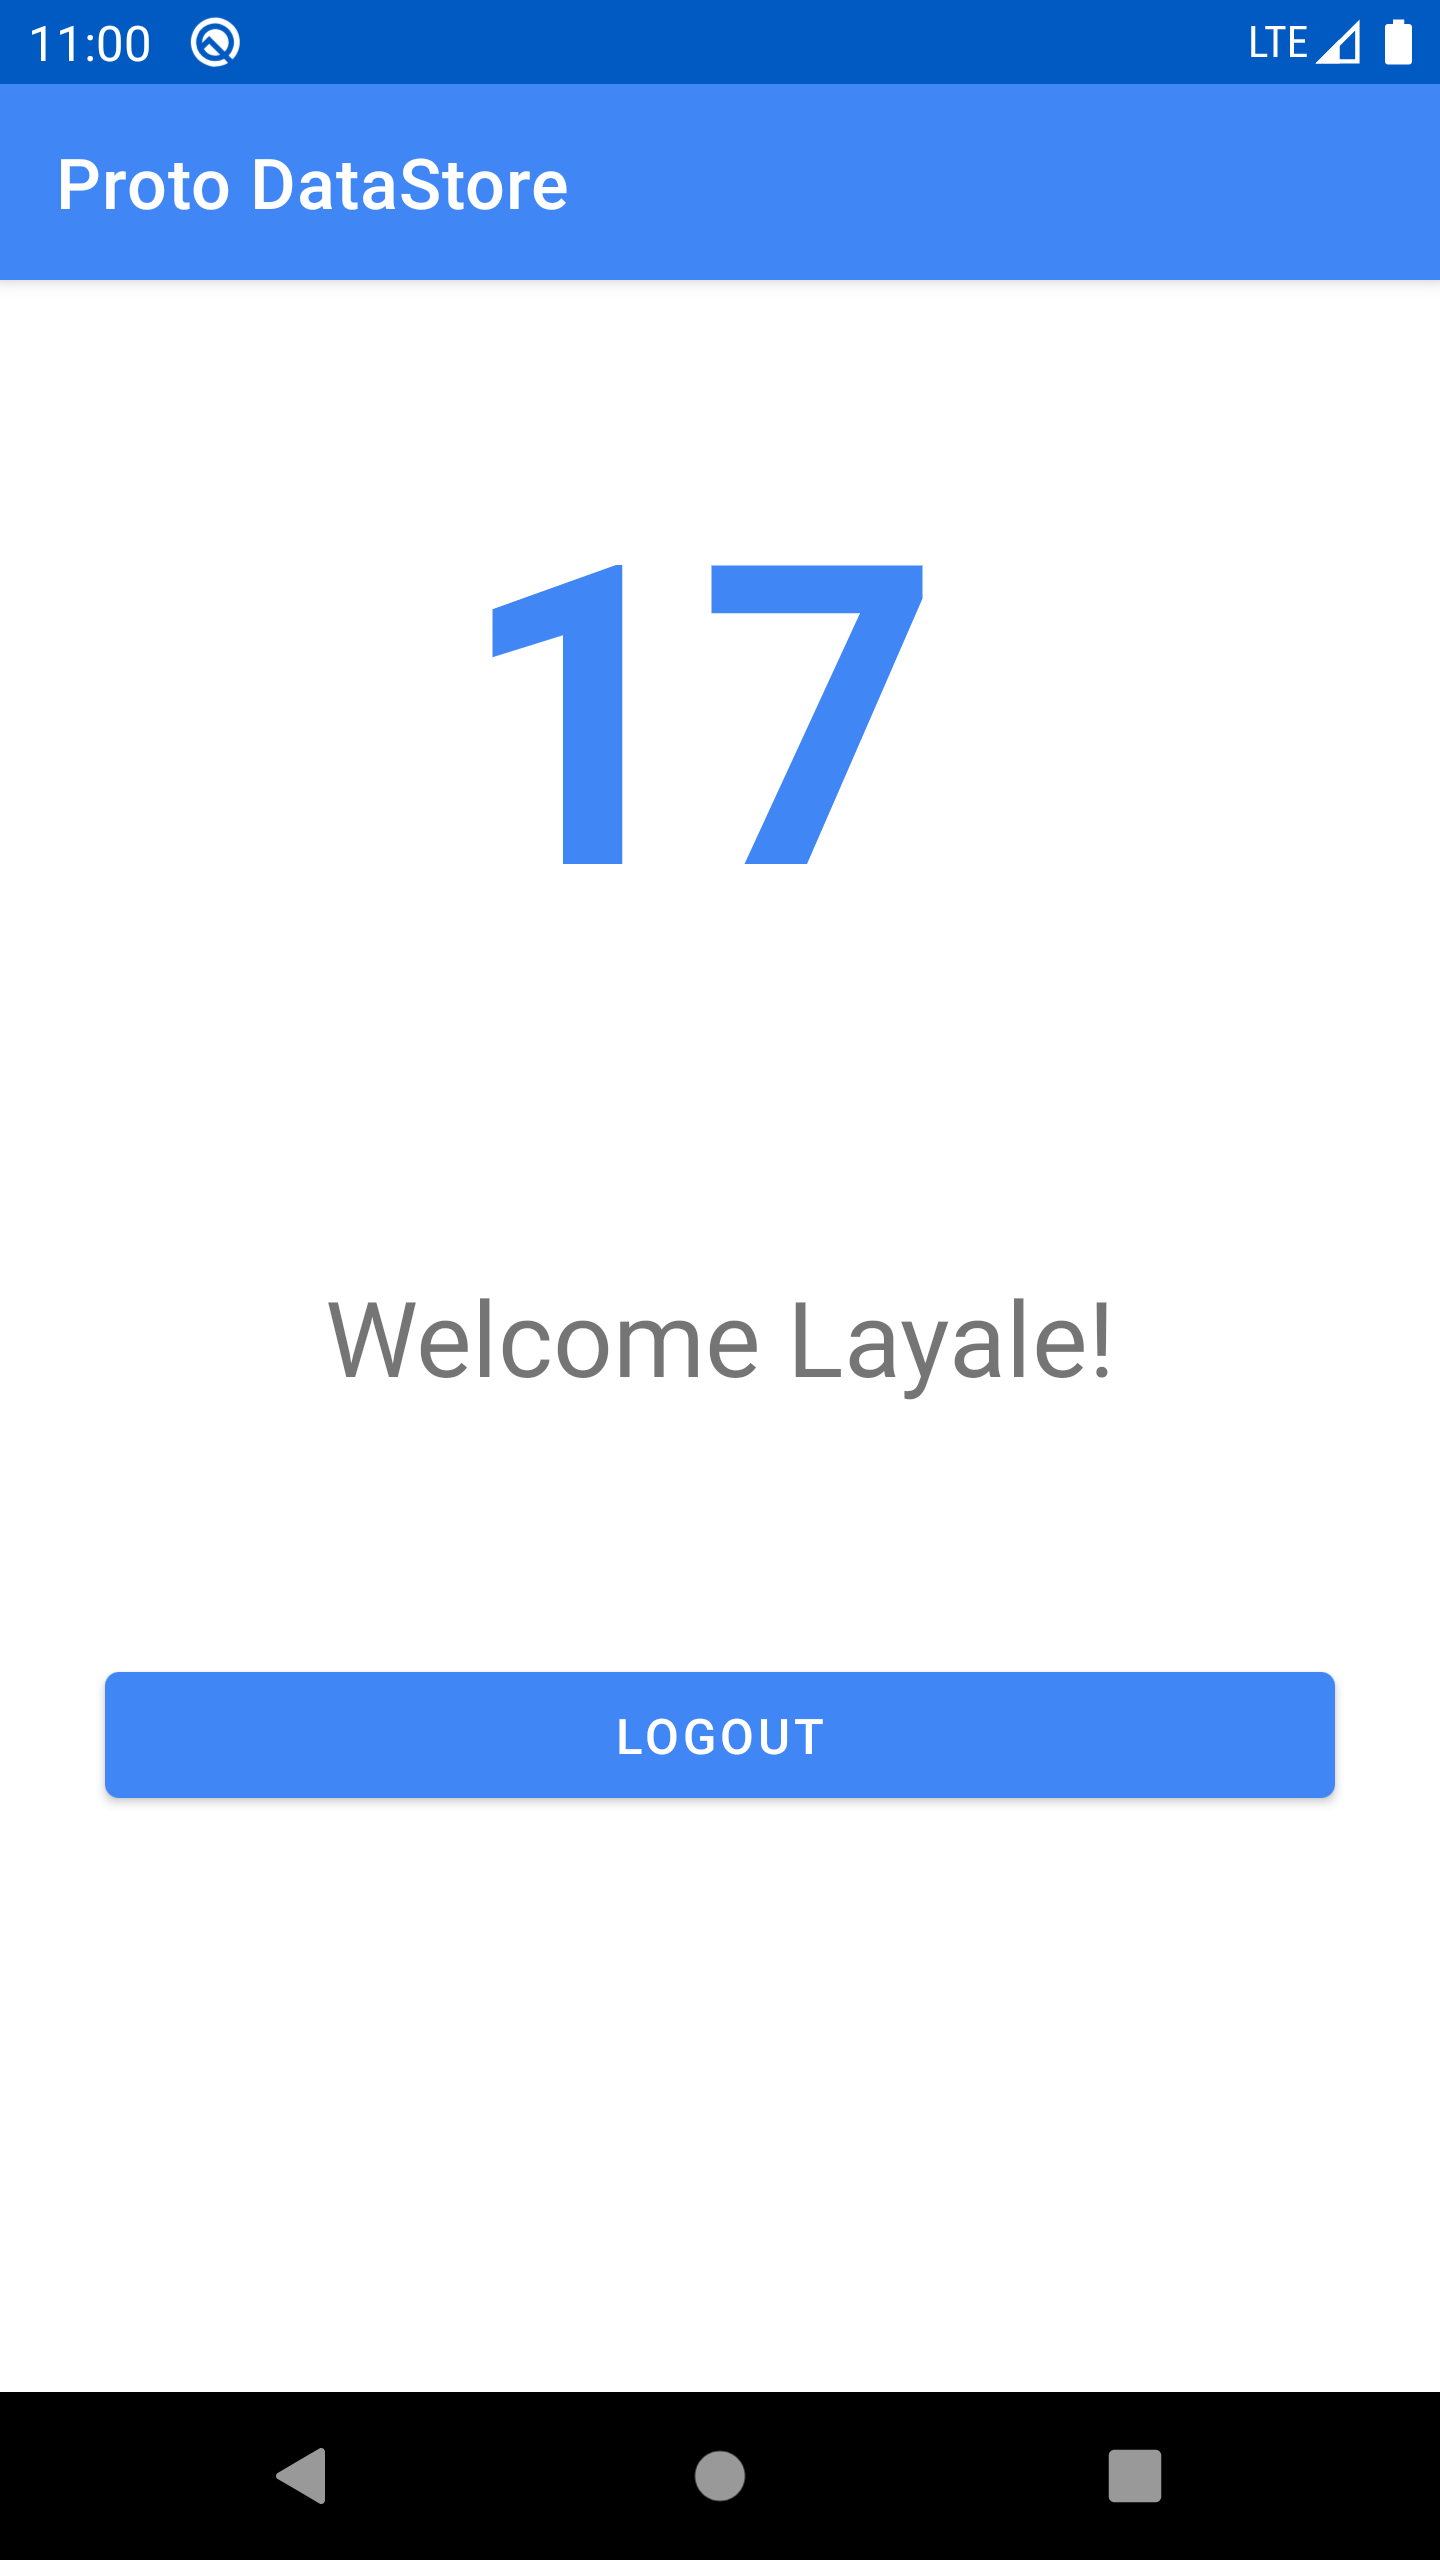
In this simple project, we are implementing the same Remember Me functionality as in the previous post. We are currently using SharedPreferences to store this value and redirect the user to the Welcome screen once it’s checked. We will migrate the code to use Proto DataStore.
To get your hands on the code, consider checking this GitHub repo.
The final code is located in the proto_datastore branch.
🏷️ Define Protobuf schema
In order to use Proto Datastore we will need to define our Protobuf schema in a new .proto file. So instead of creating a model class in Kotlin, we will define it in a Protobuf schema instead. And there’s a new syntax that we need to follow when writing this schema.
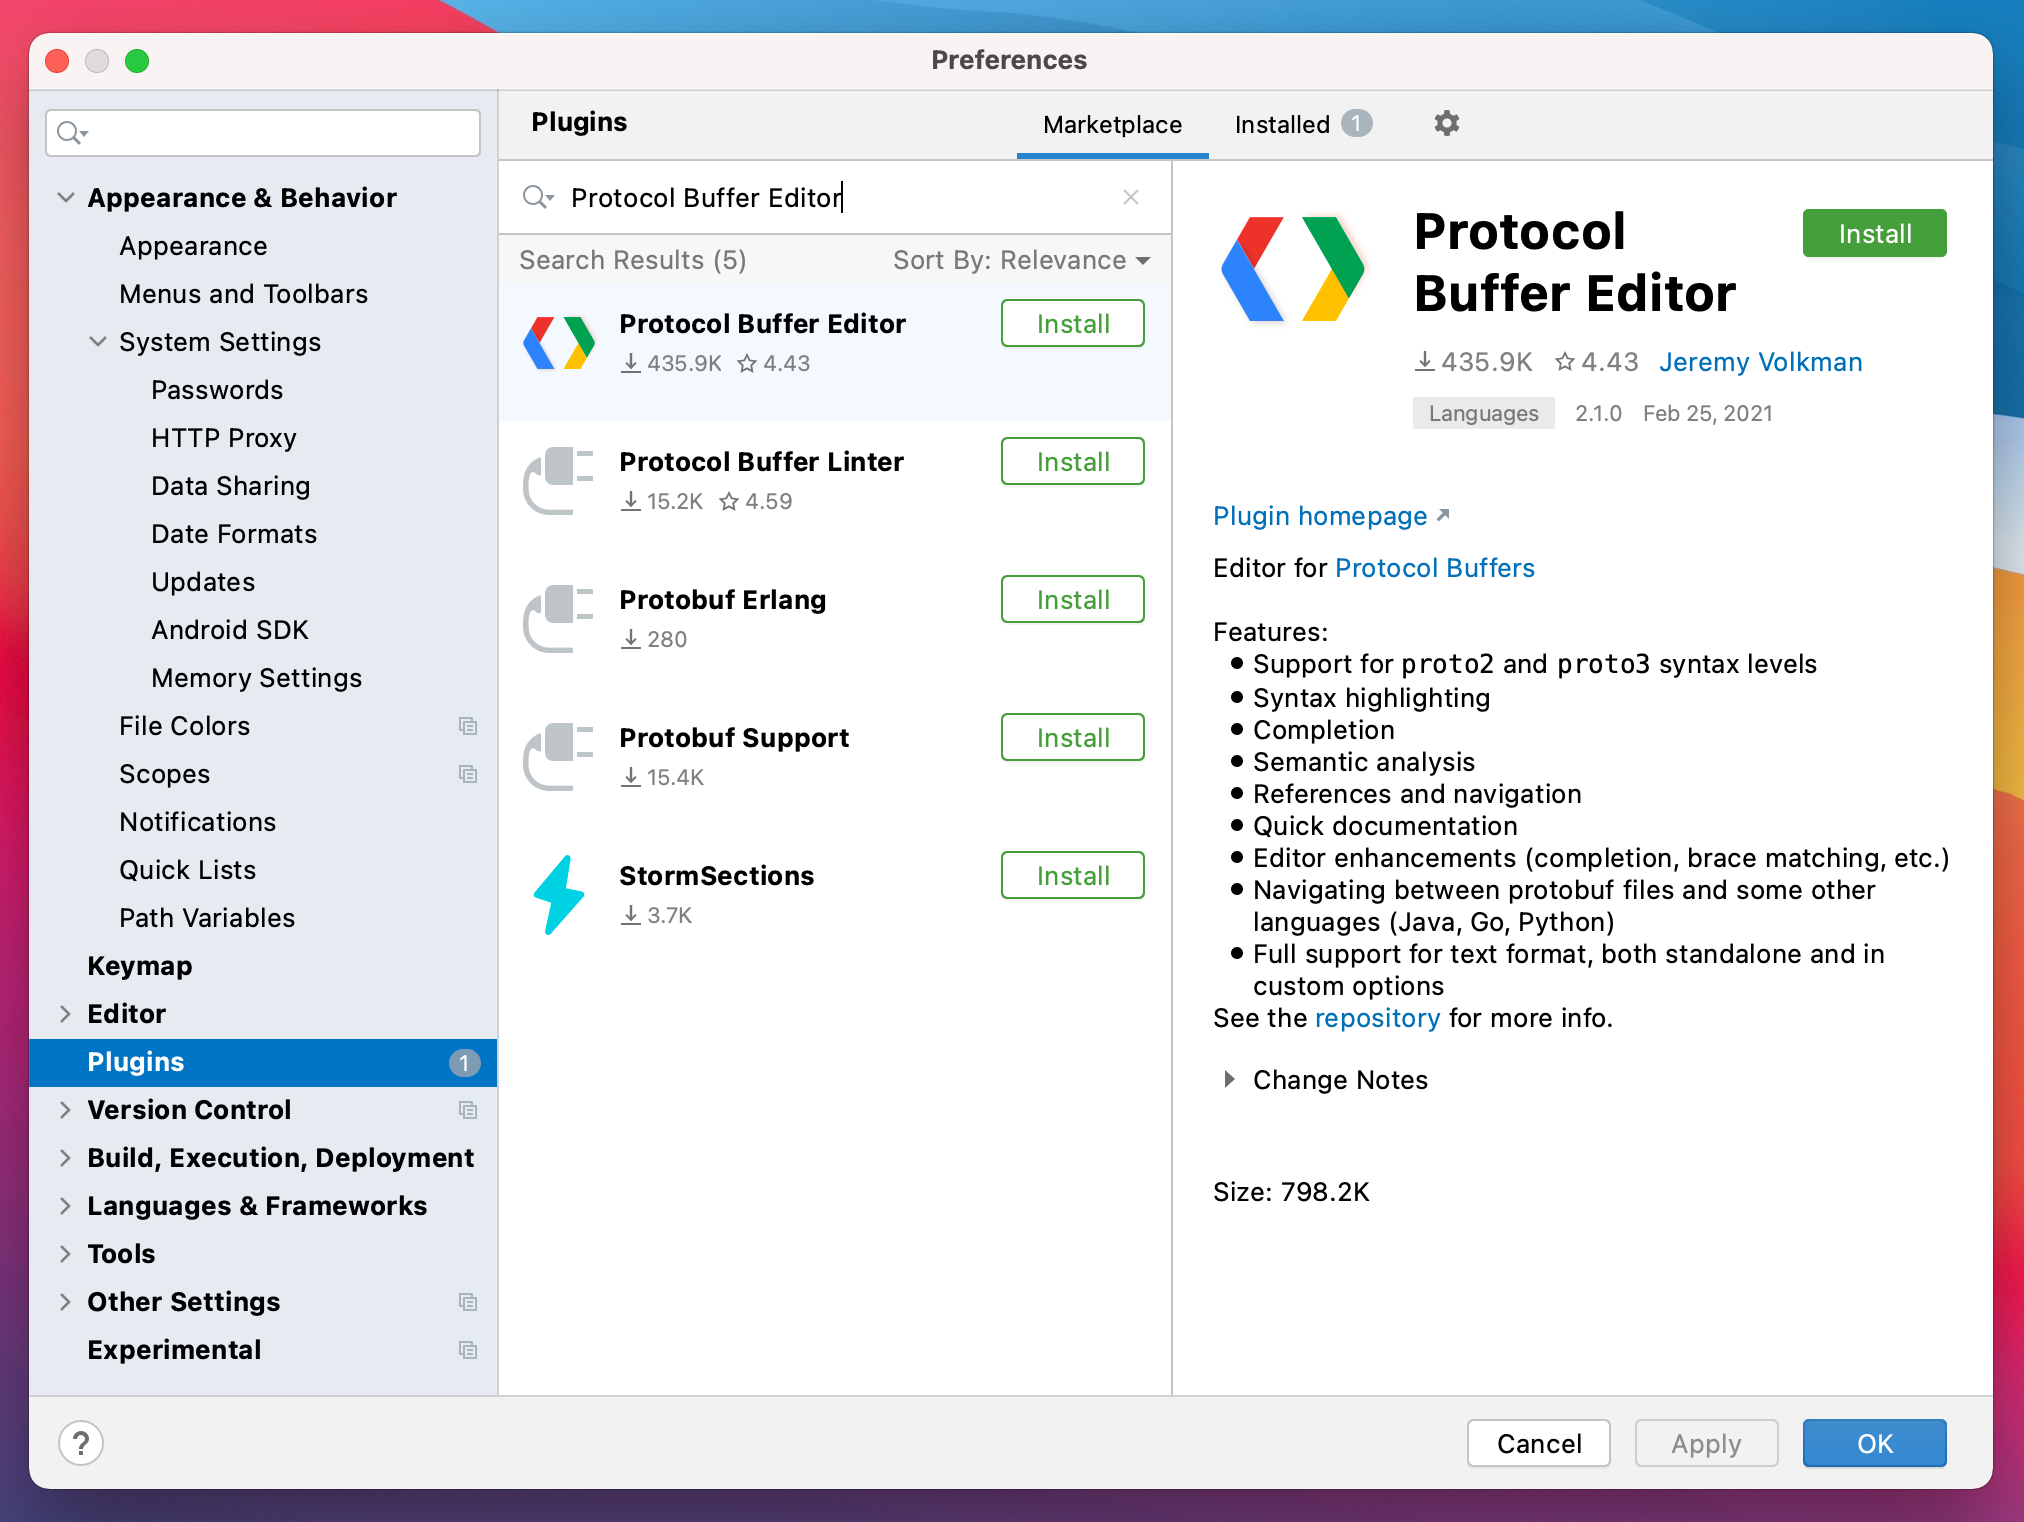
We will install a plugin in Android Studio called Protocol Buffer Editor that will help us write the Proto file. Make sure to install it before creating your proto files.
Once installed, we switch to our Project View and under app/src/main we create a new directory called proto. Inside this directory we create a new file user_prefs.proto where we define our Protocol Buffer schema as follows:
Let me walk you through this syntax:
1️⃣ Syntax
There are 2 versions for the Protobuff syntax: proto2 and proto3. You can check the documention for more info regarding these two different versions. In our case, we are going to use proto3.
2️⃣ Options
Then, we are going to write 2 options:
First, our java_package name. We need it in order to tell our compiler where to generate our classes from this protocol buffer.
The second option is java_multiple_files. We will set it to true and this means that we need to create a separate file for each top level message object of this proto file.
3️⃣ Message
The message keyword defines the data structure. And inside it, we define the members of this structure. As you may have noticed we have different primitive types in this syntax.
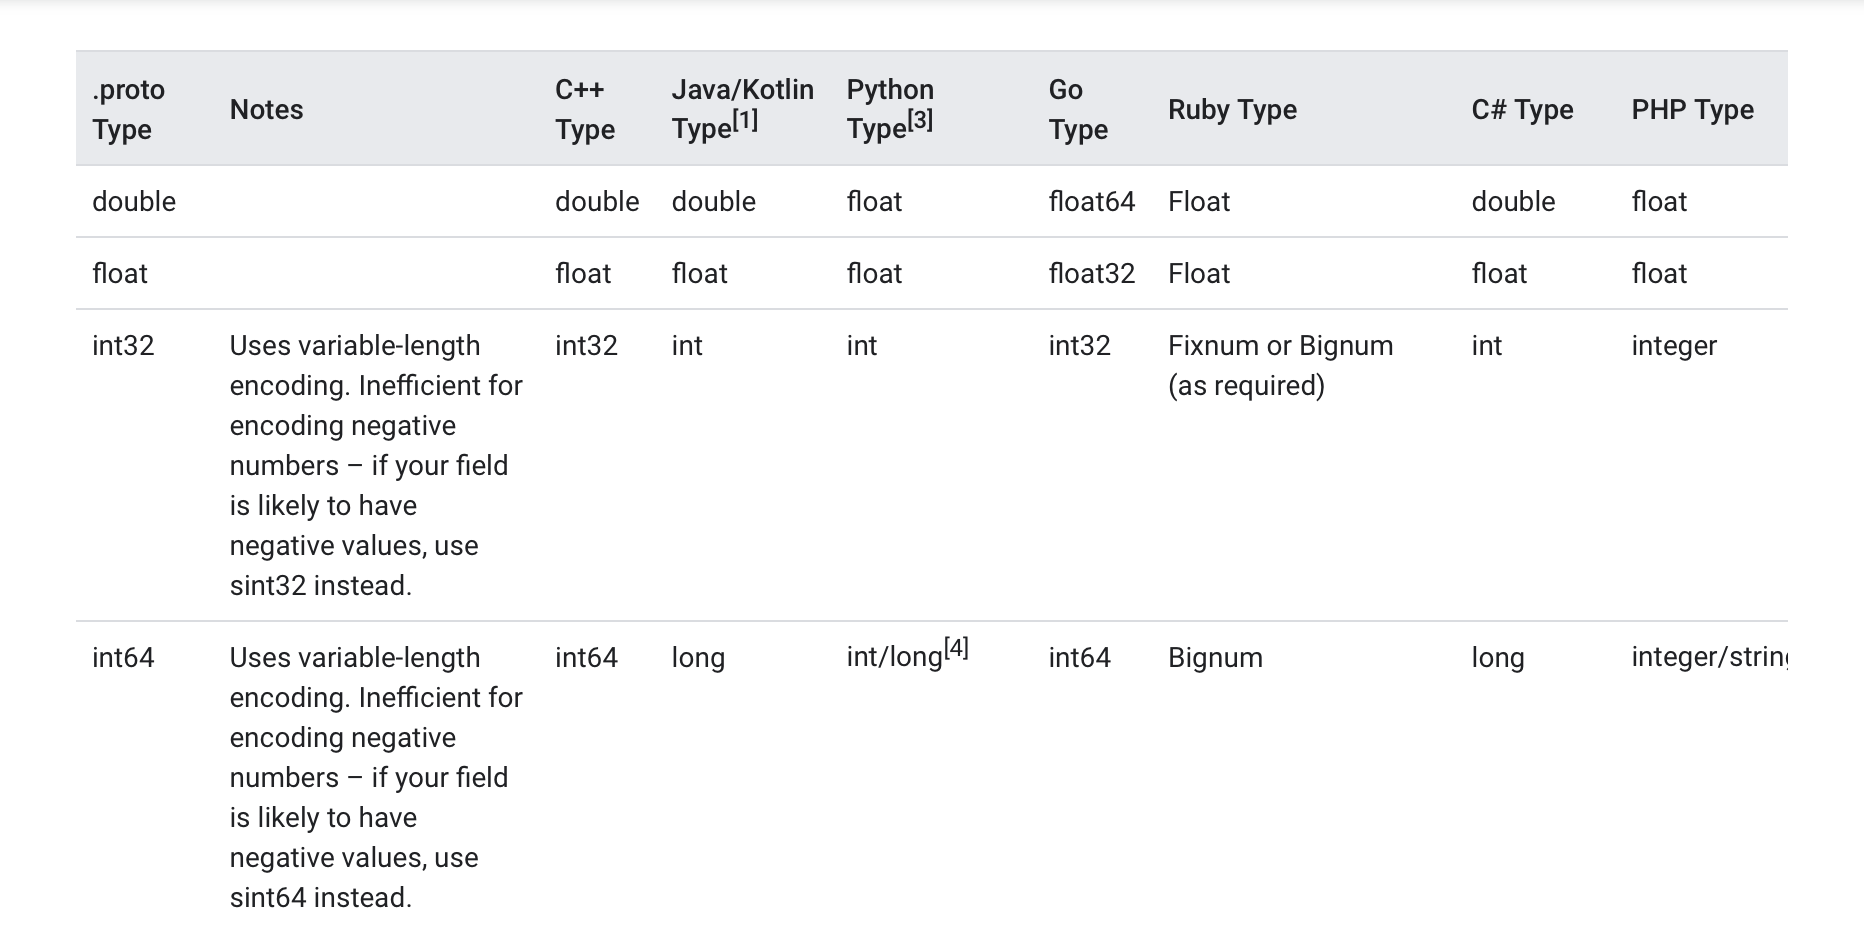
By taking a look at the documentation, we can learn that: int32 in Java represents an Integer, int64 a Long and bool is a Boolean.
We create an object UserPreferences with 2 member fields: a bool, a string and an int32. Don’t be confused when you see these 1, 2 and 3. These are not actual values but unique numbers to identify our fields in the message binary format and they should not be changed once our message object is in use.
🔌 Dependencies
Before we continue let’s place this plugin at the top of our build.gradle file.
Then we need to add two dependencies, one for Protobuf and one for Proto DataStore.
And finally at the end of our build.gradle file we configure Protobuf and we sync our project.
Now that we have added this plugin, we should be able to see the automatically generated files by this plugin from our user_prefs.proto file.
Rebuild the project to see those files inside the java (generated) folder.
We find a new UserPrefs folder that represents our proto file, and a UserPreferences class that represents our message object. Inside it we have java code that implements some getters and setters for this UserPreferences message object.
↪️ Serializer
To tell DataStore how to read and write the data type we defined in the proto file, we need to implement a Serializer. The Serializer defines also the default value to be returned if there’s no data saved yet.
Back in our project, we create a class called UserPreferencesSerializer which extends Serializer
🗃️ DataStore Repository
Next we create our Repository which we call UserPreferencesRepository.
📋 Read from DataStore
We create a new variable called userPreferencesFlow of type Flow
📝 Write to DataStore
We create the suspend updateUsername function which will update one field from our UserPreferences member values. We will call preference.toBuilder(). and we choose the setter method that we need from our generated class.
P.S: Don’t forget to create a method to update each field.
🆑 Clear DataStore
To clear data, we can either clear the preferences all together or clear a specific preference by its method from our generated class.
🤙🏼 Call it from the ViewModel
In our LoginViewModel, we create a variable for our UserPreferences, read its data from our DataStore as a Flow and then convert it to LiveData.
Next we create a new function named saveUserPreferences and we pass to it the values that we want to update. We call viewModel scope and run the following code inside a coroutine since our update functions in our Repository are using Kotlin Coroutines.
LoginViewModelFactory is a ViewModelProvider.Factory that is responsible to create our instance of LoginViewModel later in our Activity. We will pass to it the DataStoreRepository which is need in LoginViewModel’s constructor.
🔬 Observe it in the Activity
🗄️ Create DataStore
In our Activity, we first create our userPreferencesDataStore and we initialize it and pass to it a file name as well as our Serializer class.
📦 Migrate from SharedPreferences
If we are migrating our existing data from the SharedPreferences, when creating our DataStore, we should add a migration based on the SharedPreferences name.
And when creating the dataStore we need to update the DataStore builder and assign to the migrations parameter a new list that contains an instance of our SharedPreferencesMigration.
Define the mapping logic from SharedPreferences to UserPreferences inside your SharedPreferencesMigration.
DataStore will be able to migrate from SharedPreferences to DataStore automatically, for us.
Inside our onCreate function, we initialize our ViewModel and we observe our fields’ values, so that whenever this data changes we will update it in its corresponding text field.
And whenever we click our login button, we store the value from our editText and checkBox field and update it in our DataStore using the saveUserPreferences function.
💡 Key Takeaways
Now that we migrated to Preferences DataStore let’s recap!
DataStore:
- is a replacement for SharedPreferences
- has a fully asynchronous API using Kotlin coroutines and Flow
- guarantees data consistency
- handles data migration
- handles data corruption
DataStore has 2 different implementations: Preferences DataStore and Proto DataStore.
- stores and accesses data using keys
Proto DataStore:
- ensures Type Safety
- requires defining a schema using Protocol Buffers
⏭ Up next
If this post was of any help to you, or if you’d like me to write about any specific Android related topics, let me know! Drop me a DM on Twitter @yalematta ✌🏼
Written on May 25th, 2021 by Layale Matta